PROJECT INSIGHT ·
A description should become something tangible
Home Assistant had already connected my assistant to devices beyond the computer. The next step led toward the workshop: a description should become a model I could inspect, change, and eventually prepare for 3D printing. Between the idea and the printer, though, I needed several steps I could check.
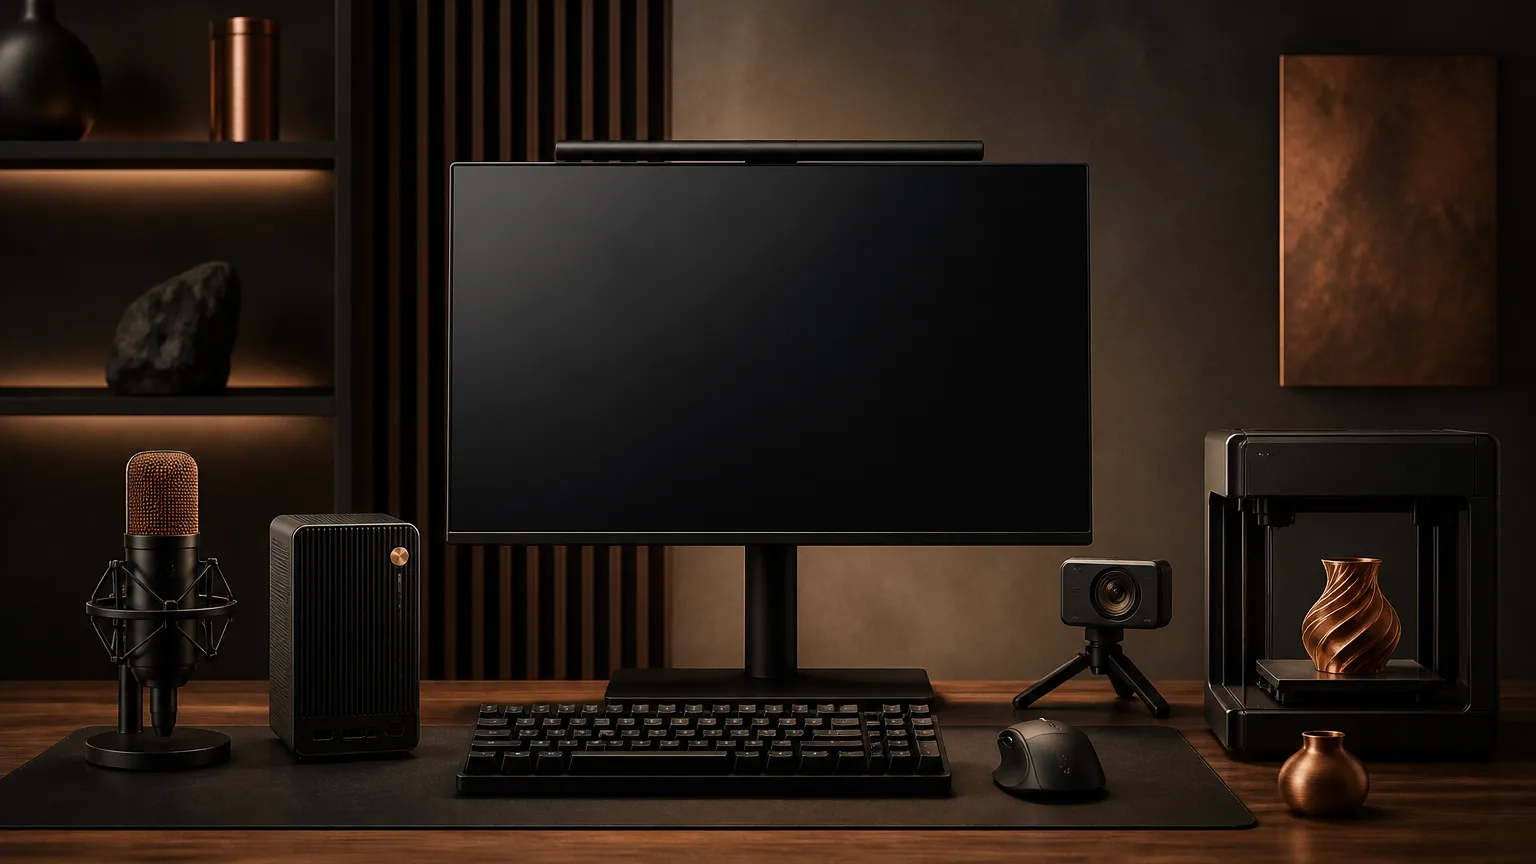
Entering a description and producing something tangible fitted the appeal of this project. My assistant could process speech and execute defined actions. Now it gained a capability whose initial result would be a shape.
In my experiments, this worked with plates so far. Other objects that I had not explicitly taught Joris to handle did not work yet. I quickly reached the limits here. Even so, this limited workflow was exciting: I could describe a part, inspect it and then change it.
First, text needed to become a model
For example, I could say: “Create a plate measuring 100 × 100 mm and 10 mm thick. Add an 8 mm diameter hole at each corner, with its centre 20 mm from each of the two adjacent edges.” This description became a structured model specification.
The implementation used rules to recognize supported details. OpenSCAD code could then be generated from them. That gave me a concrete intermediate result before considering a print job at all.
Between my description and the printer, I wanted a result I could inspect.
That separation mattered. A plausible sentence could contain unsuitable dimensions. A recognized shape could differ from what I had imagined. I wanted to see such differences before investing material and time in a print.
The preview belonged in the process
The path to a model had dedicated components: generation, validation, code output, presentation, and storage of the resulting files. Each had a bounded responsibility.
| Step | What it produces or checks |
|---|---|
| Interpret the description | A specification within the supported shapes |
| Validate the model | Checks including positive dimensions and suitable wall thickness |
| Generate OpenSCAD code | A concrete description of the geometry |
| Create a preview | A visible state to inspect |
| Revise the model | An updated state with traceable corrections |
| Prepare printing | The appropriate subsequent path through slicing and printer integration |
Joris created the plate and displayed it as a 3D model in a widget. I could rotate the view smoothly and inspect the result from different sides, much like in a program for preparing 3D prints. That let me see directly whether the shape matched what I had imagined.
I could then follow up: “Add another hole exactly in the centre, with a diameter of 12 mm.” That change worked too. I did not need to describe the whole plate again; I could build on the existing design.
Validation couldn't decide everything
The checks helped detect invalid dimensions or a wall thickness that left no interior space, for example. These were concrete properties of the model specification.
They didn't replace evaluating the finished part. Whether it would be strong enough for its purpose, fit correctly, or print well with a particular material wasn't automatically answered.
This boundary fitted my earlier experiences. The more concrete the potential effect, the more carefully I needed to distinguish what the software had actually checked from what I still needed to assess myself.
Printing was a separate step
Further processing had a slicer integration and a path to the Creality K1 on the local network. The print request remained a separate action. Creating or displaying a model shouldn't start the printer as a side effect.
The intended approval path therefore treats printing as an action requiring confirmation. The decision from part 4 gained another concrete application: preparation and execution remained separate.
The programs and devices involved also needed to be available. Having a model didn't mean the renderer, slicer, and printer were already configured correctly on every computer.
The architecture supported an unusual extension
The CAD path involved considerably more than one new command. Even so, I didn't need to rebuild all of speech processing for it. The capability received its own services and used the existing paths for requests and feedback.

Until this point, the starting information still came from a description. Another extension addressed precisely that: what could my assistant do with an image I explicitly showed it?